
Planning a trip to the United States requires more than just packing your bags—you need to secure your US Visa Appointment first. Whether you’re visiting for tourism, work, education, or family reunions, understanding the visa application process is essential. Missing even one step can delay your travel plans.
In this blog, we’ll walk you through every detail about a US Visa Appointment, from filling out the online visa application to booking your slot at the US Embassy or Consulate. You’ll also learn useful tips, the latest updates, and why the best immigration consultants in Delhi can make the process easier.
Understanding the US Visa Appointment
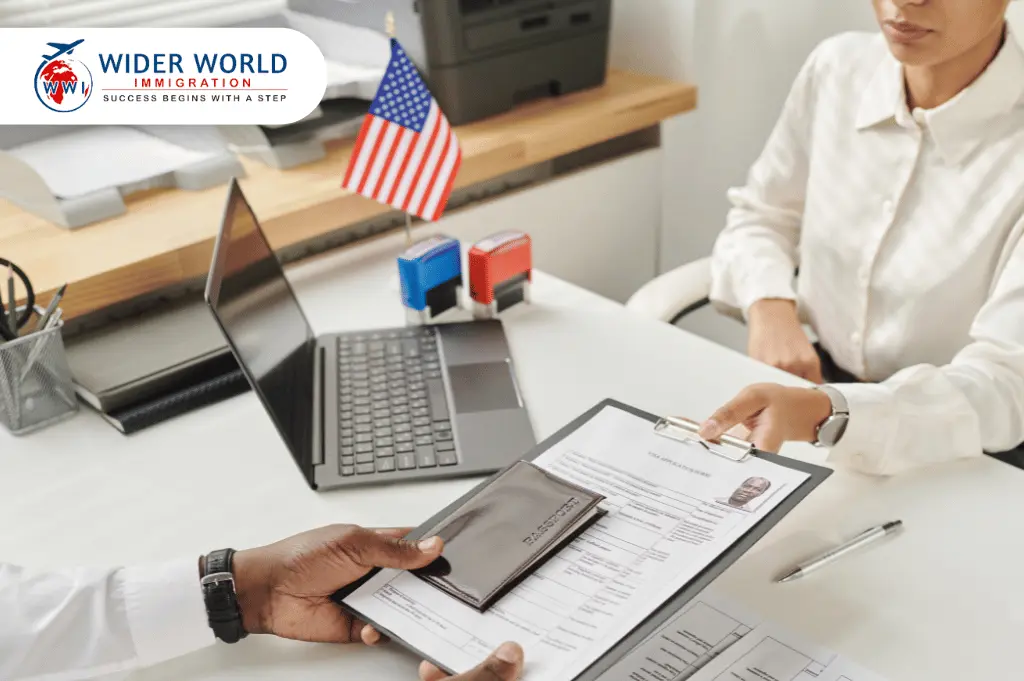
A US Visa Appointment is a mandatory, scheduled meeting at a US Embassy or Consulate that determines whether you are eligible to receive a US visa. It is the most important stage of the visa application process, as the decision to approve or refuse your visa largely depends on the information you provide during this appointment.
The process generally involves two separate appointments, both of which are essential—
- OFC (Offsite Facilitation Center) Appointment—This is the first step, where your biometric data is collected. This includes fingerprinting and photograph capture. It ensures that your identity is correctly recorded in the US immigration system before your interview.
- US Visa Interview Appointment—This is the second step, where you meet face-to-face with a US consular officer. Here, you will answer questions about your travel purpose, financial capability, background, and ties to your home country. The officer will also review your documents before making a decision.
Both appointments must be booked through the official US visa online scheduling system. Missing or skipping either step will automatically delay or cancel your US visa appointment, meaning you will have to restart parts of the process.
Types of US Visa Appointment
Before booking your US Visa Appointment, it’s important to know which US visa you’re applying for.
| Visa Type | Purpose | Interview Requirement | Typical Wait Time |
| B1/B2 | Business/Tourism | Yes | 50–300 days (varies by city) |
| F1/M1 | Student Visa | Yes | 20–90 days |
| H1B | Work Visa | Yes | 30–180 days |
| L1 | Intra-Company Transfer | Yes | 20–100 days |
| Visa Waiver | Short stays for certain countries | No | Immediate |
Step-by-Step Process for a US Visa Appointment
Booking a US Visa Appointment involves a series of structured steps that must be followed carefully. Missing even a small detail can delay your travel or lead to rejection. Here’s a detailed breakdown of every stage so you can move through the process smoothly.
Step 1—Complete the DS-160 Online Visa Application Form
The visa application starts with filling out the DS-160 form online. This form is mandatory for all non-immigrant US visas and collects your personal, travel, and security-related information.
How to Fill the DS-160
- Visit the official US Department of State Consular Electronic Application Center (CEAC) website.
- Select the location where you will attend your US Visa Appointment.
- Start filling out the DS-160 with accurate details—
-
-
- Personal Information – Name, date of birth, nationality, passport details.
- Travel Details—Purpose of visit, intended date of travel, and duration of stay.
- Work/Education/Training—Employment history or current academic details.
- Security and Background—Health, criminal, and immigration history.
-
- Upload your digital photograph according to US visa photo guidelines.
- Review all information carefully before submitting.
- Save and print the DS-160 confirmation page with the barcode—you’ll need it for your US Visa Appointment.
Step 2—Create Your Online Visa Profile
Once your DS-160 is complete, the next step is to register and create a visa application profile on the official US visa scheduling website.
Steps to Create a Profile
- Go to the US visa scheduling portal (ustraveldocs.com for India).
- Click New User and enter your details.
- Link your DS-160 confirmation number to your profile.
- Provide passport details, contact information, and address.
- Select the preferred city for your US Visa Appointment (Delhi, Mumbai, Chennai, Hyderabad, or Kolkata).
Step 3—Pay the Visa Application Fee
Before booking your US Visa Appointment, you must pay the visa application fee (also known as the MRV fee).
Payment Methods Available
- Online Payment—Using debit/credit card.
- Bank Transfer—Through NEFT or IMPS.
- Cash Payment—At designated bank branches (e.g., Axis Bank or Citibank in India).
Once payment is processed, your profile will be updated, allowing you to book your US Visa Appointment.
Step 4—Schedule the OFC (Biometrics) Appointment
Your first US Visa Appointment is at the Offsite Facilitation Center (OFC), where your biometrics (fingerprints and photograph) are taken.
What to Expect at OFC
- Carry your valid passport, DS-160 confirmation page, and appointment confirmation letter.
- You’ll be photographed and fingerprinted.
- This step usually takes 15–20 minutes.
- No interviews are conducted here—it’s purely for biometric data collection.
Step 5—Schedule the US Visa Interview Appointment
The second part of your US Visa Appointment is the actual interview at the US Embassy or Consulate.
How to Schedule the Interview
- Log in to your visa profile.
- Choose your OFC appointment date first, then select the interview date.
- Pick a slot that allows enough time between the two appointments.
Step 6—Prepare the Required Documents
Carrying the correct documents is critical for your US Visa Appointment. Missing even one can lead to refusal.
Basic Documents for All US Visas
- Valid passport (with at least 6 months’ validity beyond travel date)
- DS-160 confirmation page with barcode
- Appointment confirmation letter
- Visa application fee receipt
- Passport-size photos (as per US specifications)
Additional Documents Based on Visa Type
- Tourist/Business Visa (B1/B2)—Travel itinerary, proof of funds, employment letter.
- Student Visa (F1/M1)—I-20 form, SEVIS fee receipt, admission letter from a US school.
- Work Visa (H1B/L1)—Employment contract, company letter, proof of qualifications.
Step 7—Attend the OFC Appointment
On the day of your OFC US Visa Appointment—
- Arrive 15–20 minutes before your scheduled time.
- Present your documents for verification.
- Get your fingerprints and photograph taken.
- Collect your stamped DS-160 confirmation, which you must bring to the interview.
Step 8—Attend the US Visa Interview
This is the most important part of your US Visa Appointment process.
Interview Tips
- Dress neatly and professionally.
- Arrive on time; late entries are usually not allowed.
- Answer clearly and honestly.
- Provide supporting documents only if requested.
- Maintain confident body language.
Example Questions You May Face—
- What is the purpose of your visit to the US?
- How long do you plan to stay?
- Who will finance your trip?
- For students—Why did you choose this university?
- For work visas—What is your role in the company?
Step 9—Post-Interview Steps
After your interview—
- If approved, your passport will be retained and returned with the visa stamped within 3–7 working days.
- If additional documents are required (221g), follow the instructions to submit them.
- If refused, the officer will provide a reason based on US immigration laws.
Step 10—Track Your Visa Status
You can track your US Visa Appointment outcome through the official website by entering your DS-160 barcode and passport number. Statuses may include—
- Administrative Processing
- Issued
- Refused
Finding and Securing an Appointment
Booking a US Visa Appointment can be challenging due to high demand.
- Check appointment slots multiple times a day.
- Be flexible with your city choice.
- Avoid peak seasons (June–August, December).
- Enable email/SMS alerts from the US Visa system.
What to Expect on the Appointment Day
At the OFC
- Carry your documents and follow security guidelines.
- Get fingerprints scanned and a photograph taken.
At the Interview
- Arrive at least 15 minutes early.
- Answer questions honestly and confidently.
- Provide any additional documents if asked.
Common Mistakes to Avoid
- Booking the wrong visa category.
- Providing incomplete or false information.
- Missing the US Visa Appointment date.
- Not preparing for the interview questions.
Rescheduling or Cancelling Your US Visa Appointment
If you cannot attend, log in to your profile and reschedule.
- Rescheduling is limited (usually 2–3 times).
- Cancel only if necessary—cancellations can affect future applications.
US Visa Appointment Wait Times
Wait times differ based on city and visa category. Here’s an example for 2025—
| City | B1/B2 Wait Time | F1 Wait Time |
| New Delhi | 250 days | 50 days |
| Mumbai | 280 days | 60 days |
| Chennai | 200 days | 45 days |
| Hyderabad | 300 days | 70 days |
| Kolkata | 220 days | 40 days |
Important Considerations Before Booking
- Plan 6–12 months in advance.
- Ensure your passport is valid.
- Keep scanned copies of all documents.
- Stay updated on US Embassy announcements.
Why Choose Wider World Immigration For a US Visa Appointment
At Wider World Immigration, we make your US Visa Appointment process hassle-free. Our team of experts—
- Guides you through the visa application process.
- Monitors appointment slots for faster booking.
- Prepares you for the interview with mock sessions.
- Has a strong track record as one of the best immigration consultants in Delhi.
FAQs About US Visa Appointment
1. How early should I book my US Visa Appointment?
You should start the visa application process at least 6–12 months before your planned travel date. Appointment slots fill up fast, especially during peak travel seasons.
2. Can I change my appointment location?
Yes, but you must cancel your existing US Visa Appointment and rebook in the desired city. Availability may vary.
3. What happens if I miss my appointment?
If you miss your US Visa Appointment, you’ll need to reschedule. Repeated no-shows can negatively affect your chances in the future.
4. Do I need an agent for booking my US Visa Appointment?
Not necessarily, but working with the best immigration consultants in Delhi can save time, reduce errors, and improve your chances of approval.
Leave a Reply